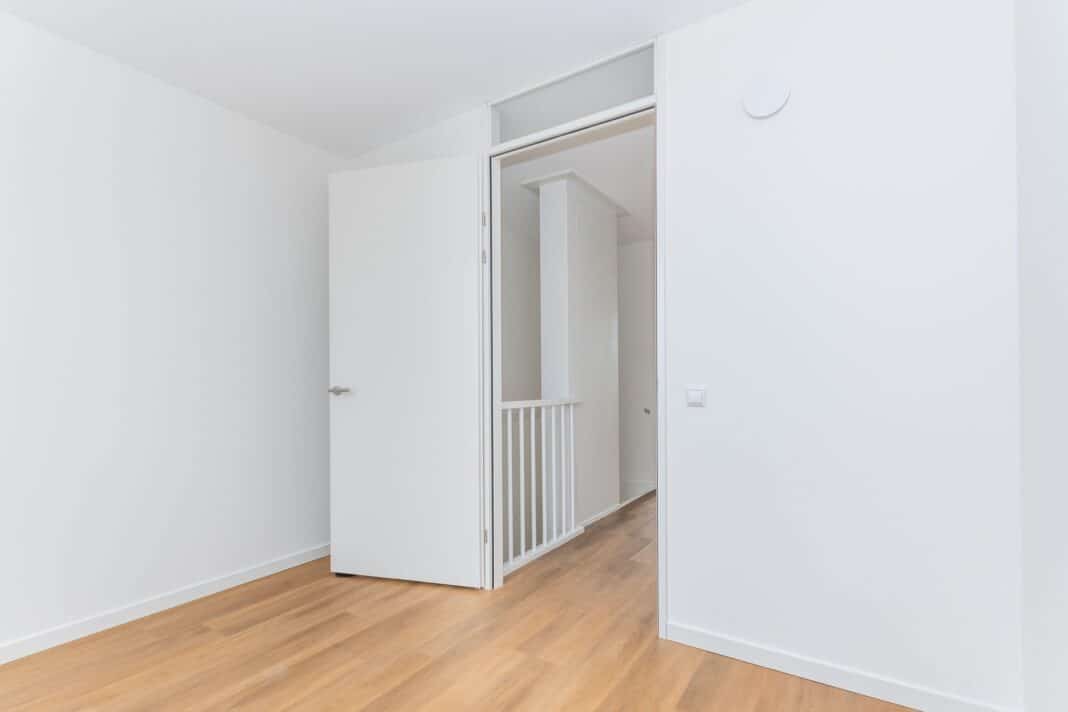
Luxury Vinyl Tile (LVT) flooring offers a practical and stylish way to refresh any room at home. Many homeowners choose it because it looks like real wood or stone, resists water, and feels soft underfoot.
This guide helps readers learn how to install LVT flooring step by step, making the process clear and manageable for both beginners and those with a bit of DIY experience. With the right approach, anyone can achieve a clean, professional finish and enjoy long-lasting results.
Acclimatise your LVT flooring for 48 hours in the room before installation
Acclimatising luxury vinyl tile flooring helps to prevent problems like gaps or warping after installation. Set the unopened packs flat in the room where the flooring will be laid out. Spread them across the floor and leave the packs for at least 48 hours.
The room should have its normal temperature and humidity during this time. Fluctuations in these conditions may cause the tiles to expand or contract, so steady conditions work best. This simple step makes it easier to achieve a consistent and professional fit.
Anyone aiming for easy to Install LVT vinyl flooring must pay attention to this process. Laying out tiles and allowing them to adjust to the environment creates fewer surprises later. This extra patience before installation saves time and effort later on. It helps the tiles last longer and keeps the floor looking neat and smooth.
Prepare and level the subfloor, guaranteeing it is clean, dry and smooth
A good result starts with a solid base. The subfloor must be clean, dry, and smooth before laying LVT vinyl flooring. Leftover debris or dust can cause bumps later, so sweep or vacuum thoroughly.
Next, check the subfloor for any signs of moisture. Too much water can damage the vinyl, so the area must feel dry to the touch. Moisture metres help confirm that the levels are safe for installation.
Inspect the surface for any cracks or uneven spots. Fill small holes or cracks with filler and allow it to set. Use a spirit level to spot dips or high points across the floor.
Level out uneven areas by sanding high spots or applying a floor levelling compound to low sections. After repairs, double-check for smoothness by running a hand across the surface. The vinyl needs a flat and even base to sit correctly and look its best.
Lay an underlay if recommended by the flooring manufacturer.
Some LVT vinyl flooring products need an underlay for extra comfort and support. Always check the manufacturer’s instructions for specific requirements before beginning this step. The right underlay can also help level out small imperfections in the subfloor.
To start, make sure the subfloor surface is clean, dry, and flat. Dust, dirt, or moisture beneath the underlay could cause future problems for the new floor. Place the underlay sheets or rolls side by side, avoiding any overlapping.
Cut the underlay to size so it fits neatly against the walls. Use a utility knife for sharp edges and accuracy. Leave a small gap of around two to three millimetres between the underlay and the wall to allow for slight expansion.
Double-check for any bumps or creases, as a smooth underlay helps create a solid base for the LVT planks. Secure the underlay in place according to the manufacturer’s advice. This base layer gives better results once you fit the main flooring.
Start installing from a corner, locking the click-lock edges tightly together
Begin by placing the first LVT plank in a corner of the room, usually along the longest wall. The short and long edges should face the two walls, leaving an expansion gap as recommended. This gap allows the floor to expand with changes in temperature.
Move to the next plank and position it so the tongue edge lines up with the previous plank’s groove. Angle the plank slightly, fit the tongue into the groove, and press down. This action locks the planks tightly together without glue or nails.
Continue this process along the first row. Each plank should sit snugly against the last. Gently use a tapping block if needed to close any small gaps.
As the rows progress, stagger the end joints by cutting the first plank of each new row. This method creates a secure and attractive pattern. Double-check that each joint stays tight for a smooth, durable surface.
Measure and cut LVT tiles using a utility knife and straight edge for precise fitting.
Accurate measurements set the stage for a tidy installation. A tape measure provides exact room dimensions and marks where tiles need to fit. Mark each cut line clearly on the tile to avoid mistakes.
A straight edge, such as a metal ruler or T-square, gives a solid guide for cutting. Place it along the marked line and hold it firmly. A sharp utility knife works best to score the surface of the LVT tile in one smooth motion.
Score the tile along the guide, applying steady pressure. After scoring, bend the tile at the cut; it should snap cleanly along the line. Use the knife again if any areas need trimming for a closer fit.
Measure and cut tiles as needed to fit against walls or around corners. This approach avoids gaps and gives a neat finish. Double-check measurements before cutting each piece for the best result.
Conclusion
Installing LVT vinyl flooring at home offers a flexible and durable option for many spaces. Good preparation, precise measurements, and careful placement of each tile support a smoother process and a neat finish.
With attention to detail throughout each step, anyone can achieve a professional look. Regular cleaning and basic maintenance help the new floor keep its fresh appearance over time.
By following the right method and using suitable materials, most homeowners find they can transform their floors with confidence.


