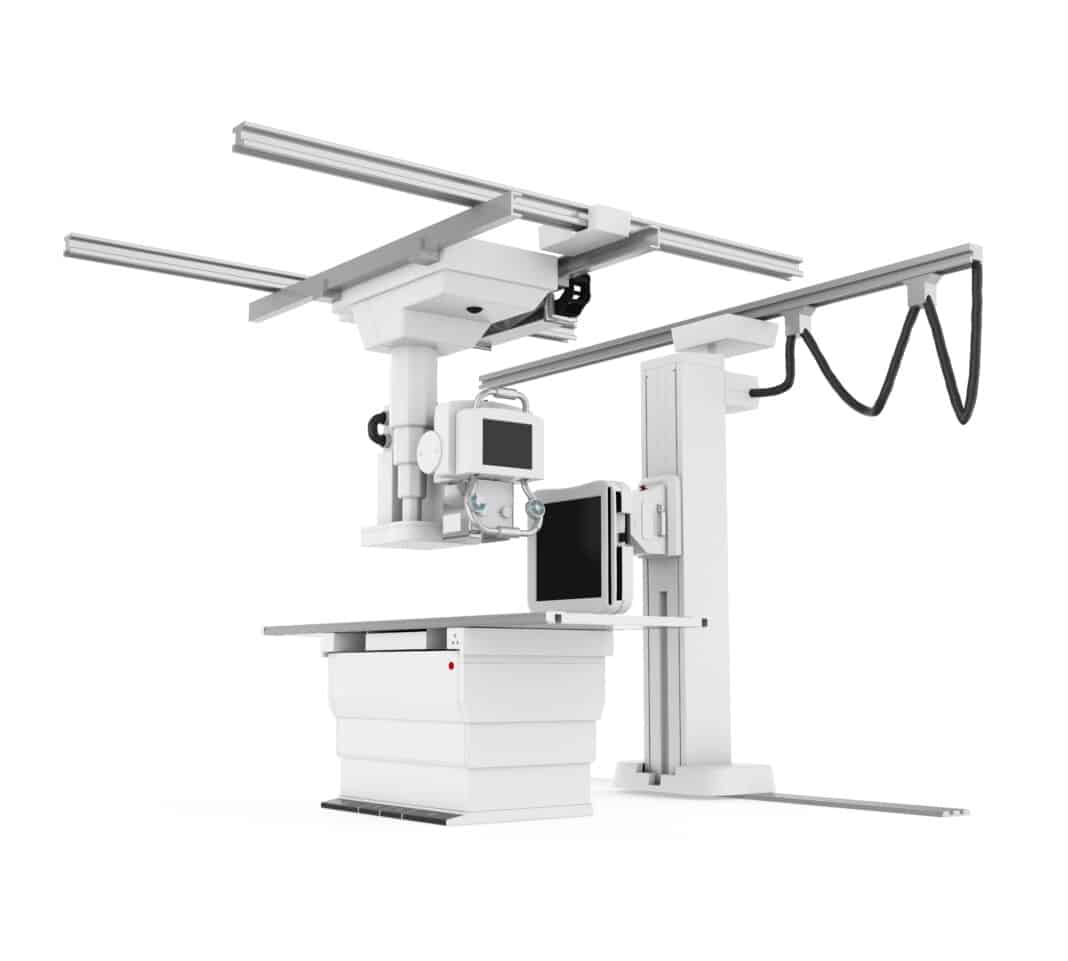
Industrial CT (Computed Tomography) scanning is a powerful technology that uses X-rays to look inside objects without harming them. Think of it like a very advanced X-ray machine.
Unlike a simple X-ray that gives a flat, 2D image, an industrial CT scanner creates a detailed 3D digital model of a part. It does this by taking hundreds of X-ray images as the part slowly rotates. These images are then combined by a computer to build a complete volumetric picture.
The main reason this technology is so important is its ability to perform non-destructive testing (NDT). Before industrial CT, if you wanted to check a critical component for internal flaws like cracks or voids, you often had to break it open. This destructive testing was expensive, time-consuming, and meant that the part couldn’t be used afterward.
Industrial CT scanning solves this problem by allowing manufacturers to see inside a part to check for defects, verify dimensions, and analyse its structure, all without ever damaging it. It provides a complete digital twin of the object, which is a massive leap forward for quality control.
How industrial CT scanning works
The process of industrial CT scanning begins by placing a part on a rotating stage, or turntable, located between an X-ray source and a detector. The X-ray source emits a high-energy beam that goes through the part. Just like a flashlight’s beam, the X-rays pass through some materials more easily than others. Denser materials, like metal, block more X-rays, while less dense materials, like plastic or air, let more of them through.
As the part slowly rotates a full 360 degrees, the detector on the other side captures hundreds or thousands of 2D images, also known as radiographs. Each image shows a slightly different view of the part’s internal and external features. Finally, the true magic happens with the reconstruction software.
This specialised program takes all those individual 2D images and uses complex math to “stitch” them together, creating a complete and highly detailed 3D volumetric model of the part. This digital model can then be rotated, sliced, and analysed from any angle on a computer screen.
Key applications and benefits in quality control
Industrial CT scanning offers a wide range of benefits that are transforming quality control. Here are a few:
Non-destructive inspection and defect detection
Industrial CT scanning lets manufacturers find hidden internal flaws like porosity (tiny holes), cracks, or voids inside materials like metal castings or plastic parts. This is vital for ensuring the structural integrity of a component, especially in industries where safety is critical, and a faulty part could have serious consequences. Since the scan doesn’t damage the part, every single component can be checked, not just a small sample.
Dimension metrology and part-to-CAD comparison
Once a part has been scanned, the resulting 3D digital model is incredibly accurate. This allows engineers to take precise measurements of both the outside and the inside of the part, including complex features that would be impossible to measure with traditional tools. This scan data can then be overlaid onto the original digital design, known as the CAD model, to instantly see if the manufactured part matches the intended specifications.
Assembly analysis
Instead of manually disassembling a complex product to check if all its internal components are properly aligned and fitted together, a single CT scan can show the entire assembly in 3D. This provides a clear virtual view of how everything fits, helping to quickly identify any issues with alignment or clearance.
Failure analysis and reverse engineering
If a product fails, a CT scan can reveal the exact location and nature of the defect that caused the failure, such as a hidden crack or a material inconsistency. Additionally, for older parts where the original design files no longer exist, a CT scan can accurately capture the part’s geometry to create a new digital model, a process known as reverse engineering.
Industries and future trends
Industrial CT scanning is being used across a wide range of industries where quality and reliability are critical.
- Aerospace: To inspect high-value parts like turbine blades, ensuring they are free of internal flaws that could lead to catastrophic failure.
- Automotive: To analyse engine blocks and other complex components to find defects before they ever reach the assembly line.
- Medical Devices: To guarantee the quality and safety of implants, surgical instruments, and other sensitive products.
- Additive Manufacturing (3D Printing): To validate the internal structure of printed parts, which often have complex, lattice-like designs.
The future of industrial CT scanning looks bright with exciting innovations. The integration of AI and machine learning is making the process smarter and faster by automatically identifying defects and improving the clarity of scan images. This will reduce the need for manual analysis and increase efficiency.
There is also a push for faster scan speeds, which will eventually allow for in-line inspection. This means parts could be scanned as they move along a production line, enabling 100% quality control in high-volume manufacturing environments.
Finally, advancements in technology are leading to a lower radiation dose, making the process safer for operators and more suitable for inspecting delicate or sensitive materials.
Conclusion
Industrial CT scanning has moved beyond a niche technology to become a fundamental tool in modern quality control. It provides a non-destructive way to see inside products, eliminating the need for costly and destructive testing methods.


